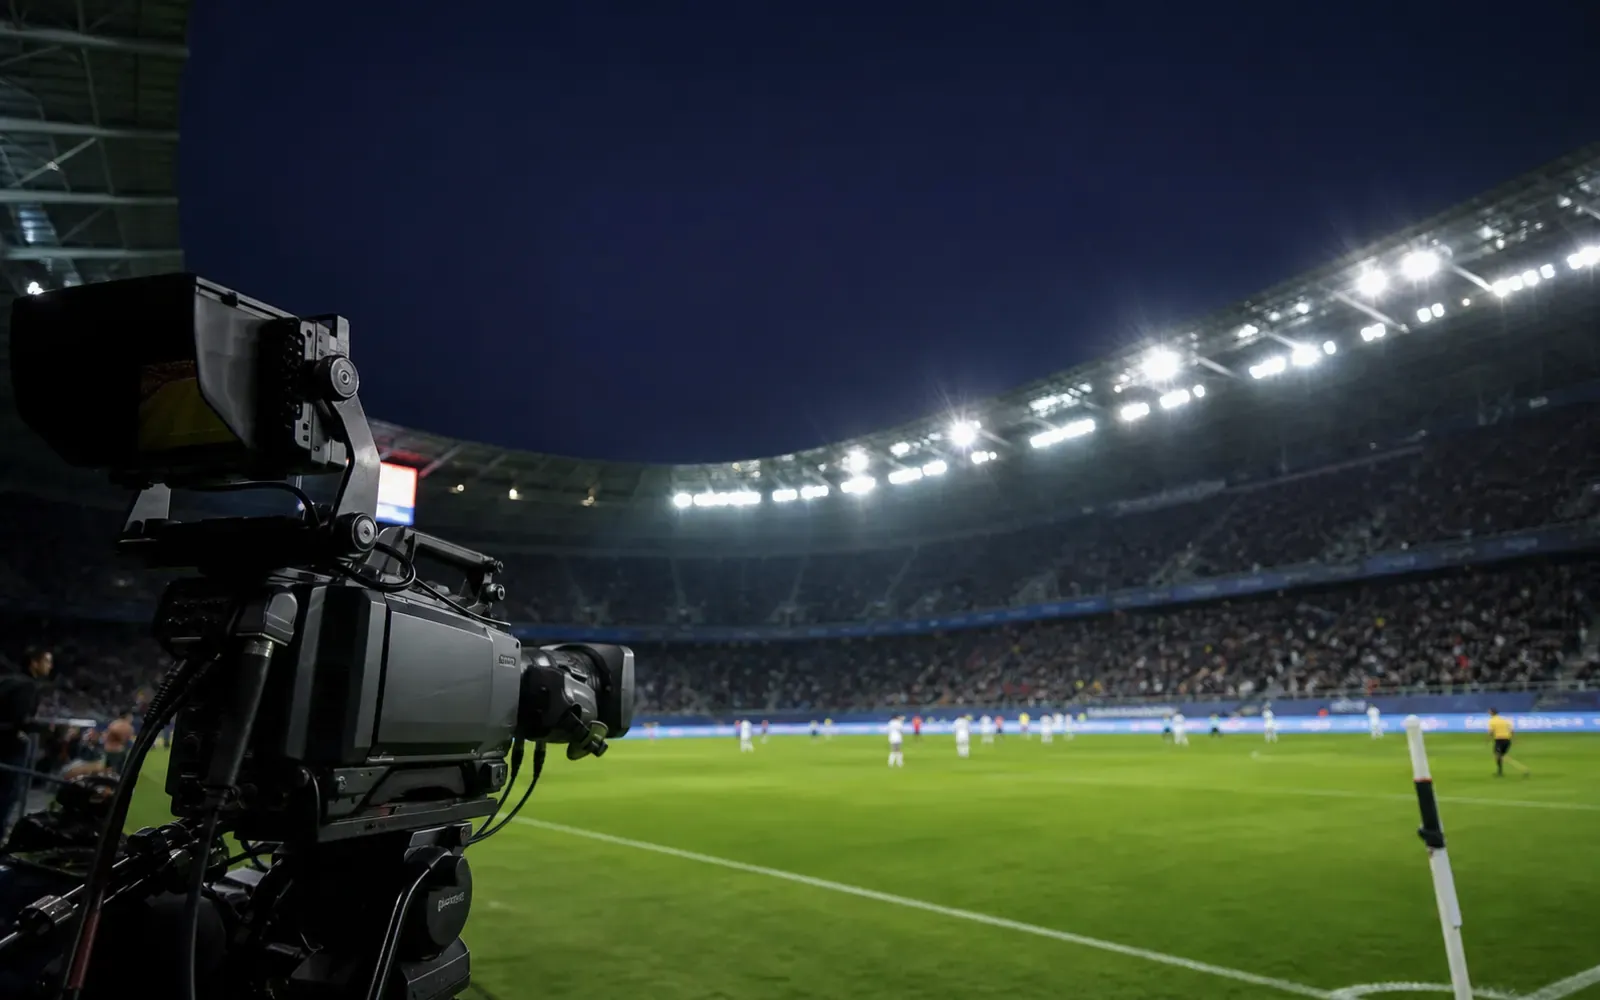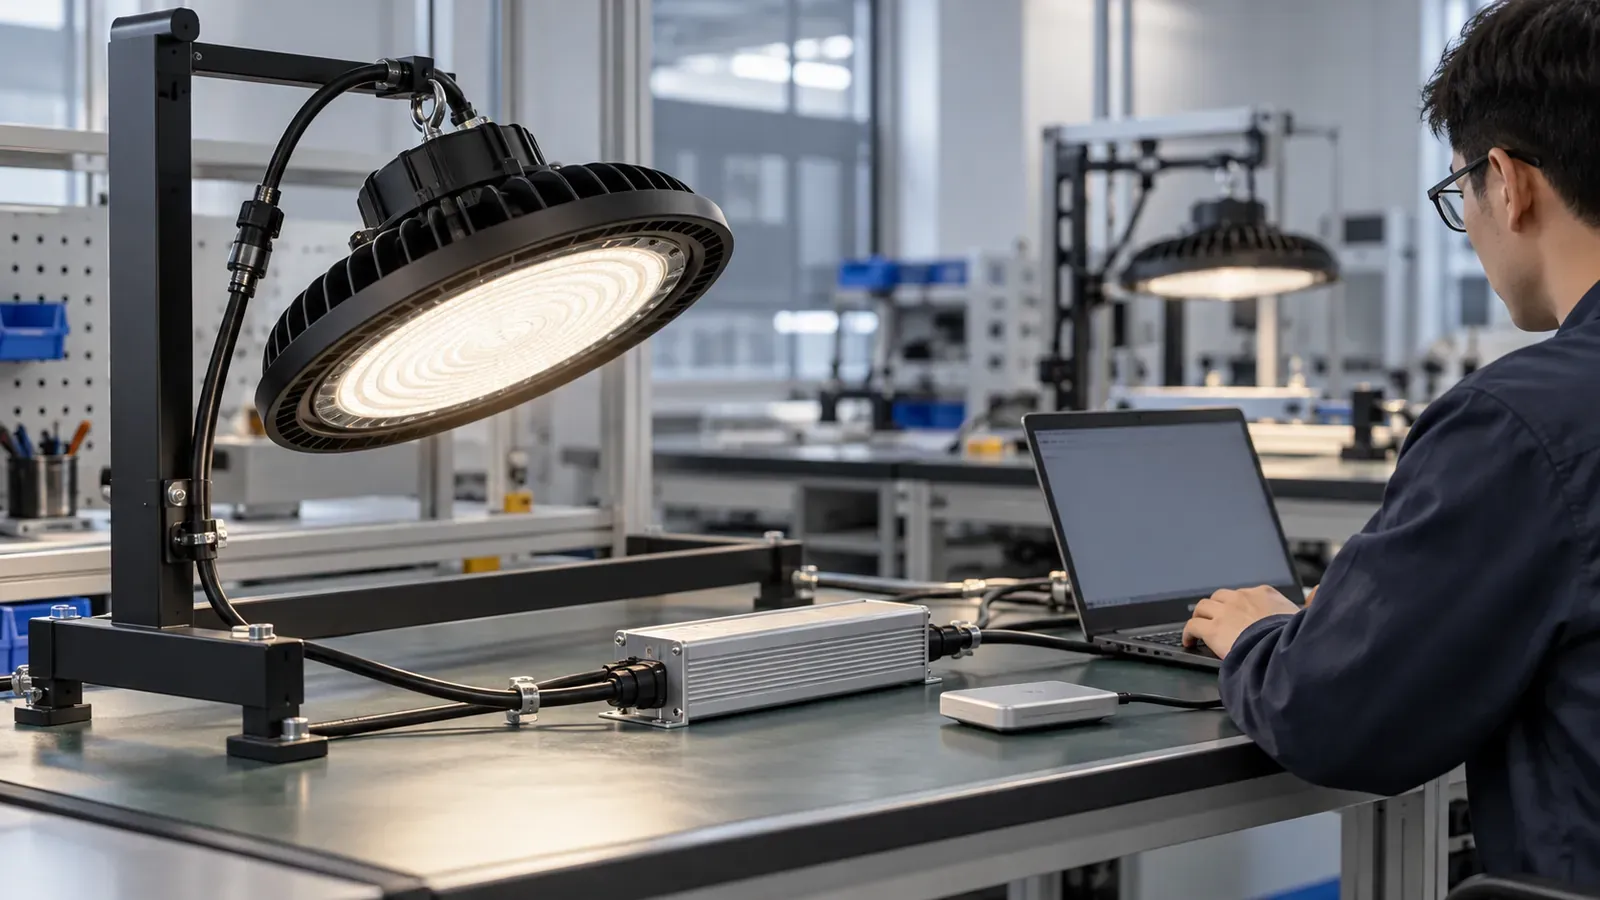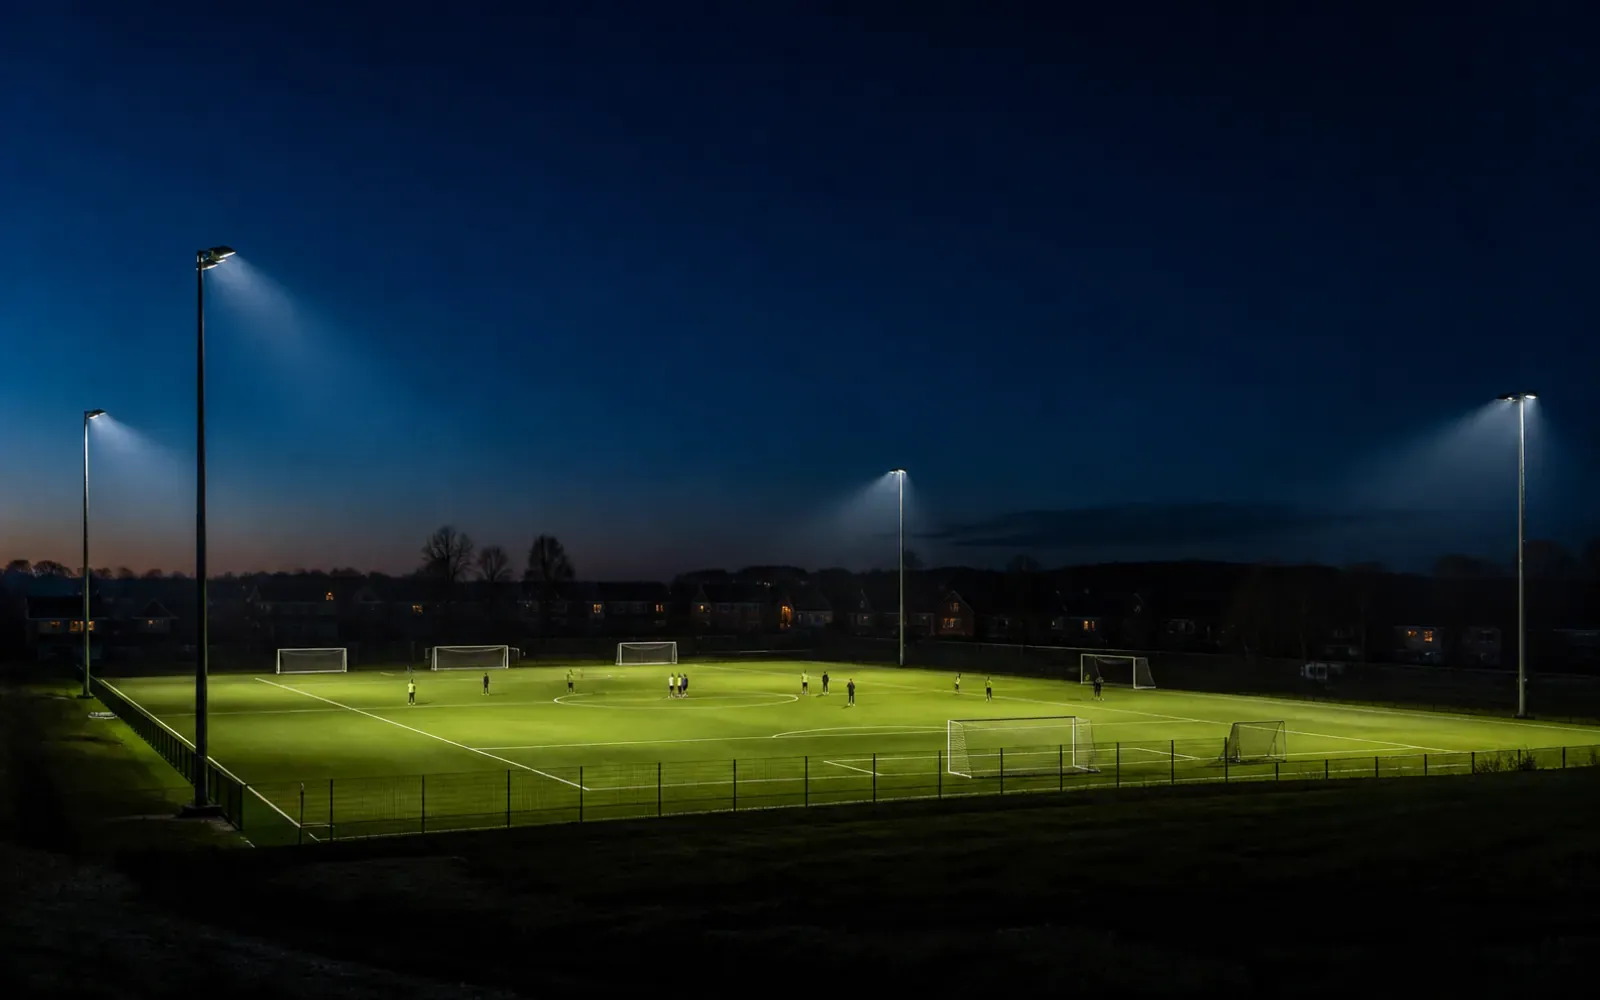
Outdoor sports lighting has two audiences: people using the field and people living around it. A successful design gives players and cameras the required visibility while limiting high-angle brightness, property-line light and upward spill.
Design principle: add boundary and observer calculations before selecting fixtures. Trying to fix complaints after poles and aiming are locked is slower and more expensive.
Define the field class and neighborhood context
Document sport, level of play, broadcast requirement, field dimensions, pole positions, curfew, nearby homes, roads, wildlife areas and planning limits. Use the applicable local standard and permit conditions; do not copy lux values from an unrelated venue.
The IES recommended practice for sports and recreational areas addresses glare and obtrusive light among its design topics (IES RP-6-22).
Model more than the playing surface
Horizontal field illuminance is only one calculation. Depending on the project, include:
- vertical planes facing main camera directions;
- player and spectator glare viewpoints;
- property-line vertical illuminance;
- nearby windows or road approaches;
- upward light contribution;
- pole and luminaire aiming angles.
Require the supplier to state maintenance factor, terrain, obstructions and calculation grid. Preserve the final photometric files and aiming schedule.
Use optics before adding wattage
Precision narrow and asymmetric optics place intensity where it is needed. A visor or louver can shield selected directions, but accessories also alter output and distribution. Model the exact luminaire-accessory combination.
The floodlight beam-angle guide explains why nominal angle alone does not reveal field shape or spill. Use IES/LDT data for the final stadium floodlight configuration.
Control aiming discipline
Small aiming errors at long throw distances can move a hotspot far off target. Specify aiming coordinates, tilt limits and a repeatable field method such as calibrated sights or laser accessories. Record final pan and tilt values for every fixture position.
Avoid using tilt as the only cure for insufficient output. Excessive tilt can increase glare and upward light. If the layout cannot meet field and boundary criteria together, revisit pole position, optic or fixture quantity.
Add curfews and scene controls
Responsible lighting is used only when needed. Define warm-up behavior, event scenes, training levels, cleaning/maintenance levels and automatic shutoff. DarkSky’s outdoor sports program emphasizes purpose, direction, appropriate brightness, useful timing and warmer color where possible; its criteria also use automatic controls to enforce curfews (DarkSky sports criteria).
Local planning conditions take precedence. Document override authority and automatic return to schedule after a manual override.
Balance CCT with visual requirements
Choose CCT based on task, camera, environmental context and project rules. Higher CCT is not a substitute for adequate illuminance or optical control. Where warmer light is feasible, it can reduce short-wavelength content, but the complete design still needs photometric and camera validation.
Review pole structure and wind area
Visors, louvers and additional luminaires change effective projected area and loading. Send the final luminaire/accessory schedule to the structural engineer. Confirm bracket adjustment range, locking method and corrosion protection so the approved aim can survive wind and maintenance.
Keep optical accessories tied to fixture positions in the bill of materials. A shield intended for the residential boundary may be unnecessary elsewhere, while omitting it from one critical position can cause a complaint.
Commission after dark
Field commissioning should include:
- fixture identity and accessory check;
- mechanical aiming against schedule;
- horizontal and vertical measurements;
- boundary and observer measurements;
- glare review from player, road and residential viewpoints;
- scene and curfew test;
- camera test where required;
- signed as-built aiming record.
Coordinate camera acceptance with LED sports-lighting flicker testing.
Procurement deliverables
Require calculation files, luminaire schedules, IES/LDT files, accessory drawings, pole loads, aiming coordinates, control sequence, commissioning method and change-control rules. The production order must match the optics and shields used in the approved model.
Ask for two calculation summaries: maintained performance on the field and maximum impact at each sensitive boundary or observer point. This makes the trade-off visible and prevents a bidder from presenting only the most favorable grid.
Glare and spill control come from geometry, optics, aiming and operations working together. No single “anti-glare” accessory can rescue a layout that ignored the surroundings.