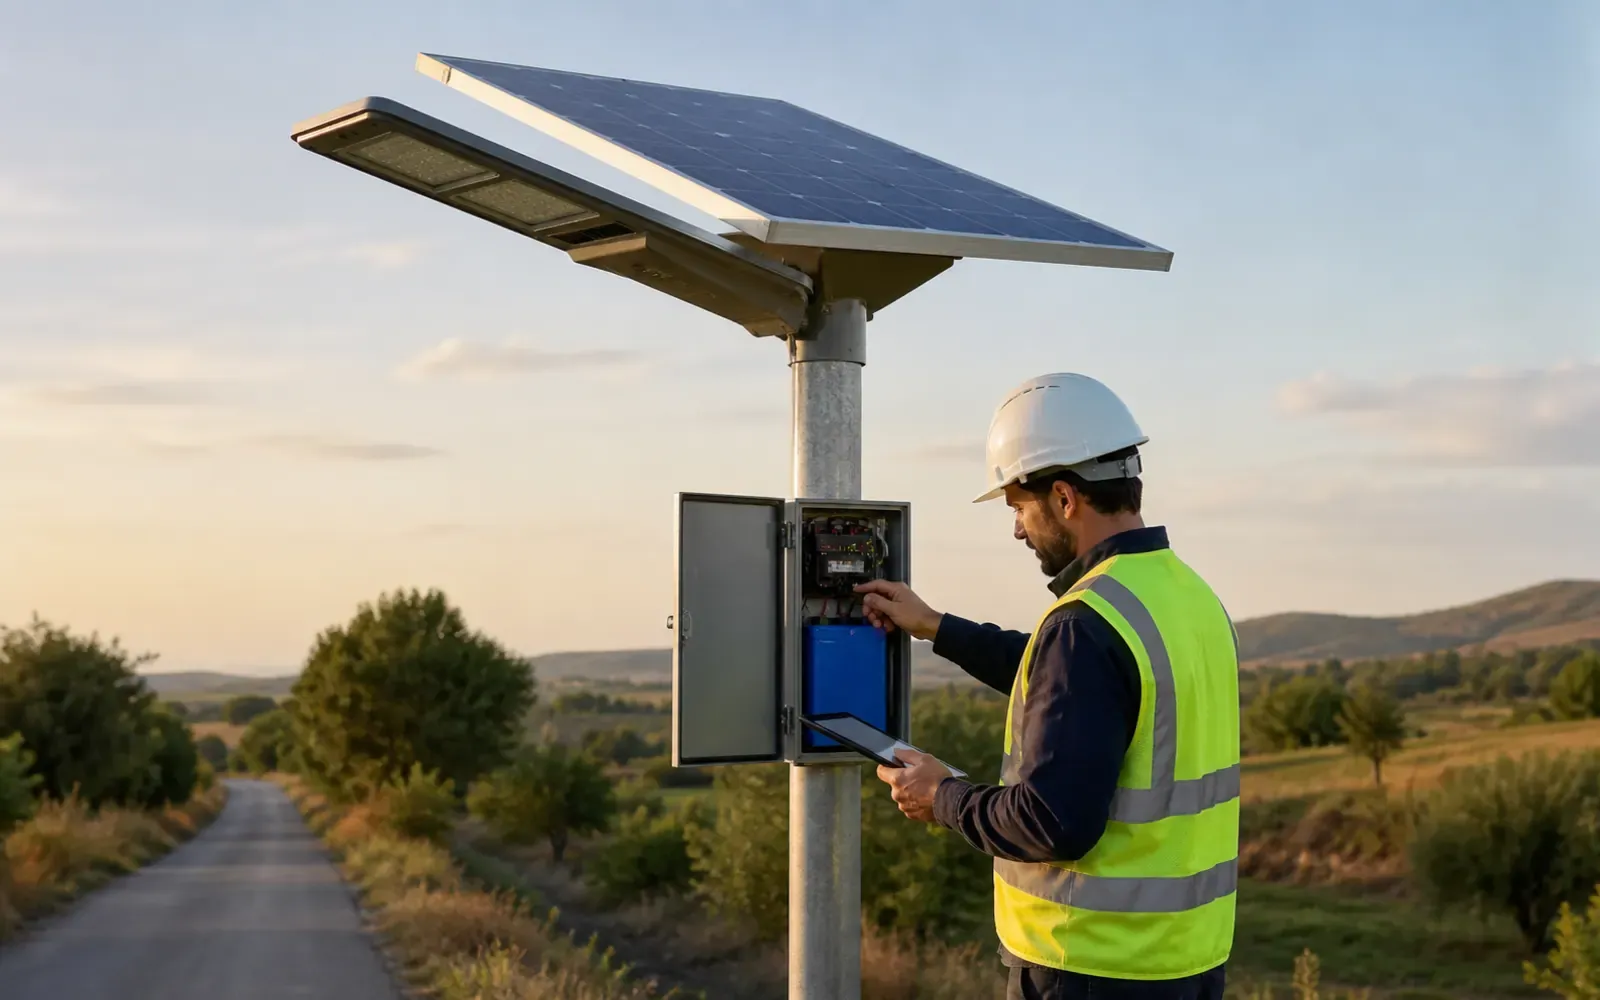
An all-in-one solar street light should be sized from energy demand and local solar resource, not from a fixture wattage printed on a marketplace listing. The critical design case is usually the lowest-resource season combined with the required nightly profile.
Sizing sequence: define useful light and operating schedule, calculate nightly watt-hours, apply losses and seasonal solar data, then select panel and usable battery capacity with a documented autonomy target.
1. Define the lighting duty
Start with road width, pole spacing, mounting height, required illuminance/uniformity, operating hours and dimming schedule. Use a photometric file to select the luminaire output. Do not assume a “100 W solar light” produces the same lumens as a grid-connected 100 W luminaire.
A typical schedule might use full output after dusk, reduced output overnight and motion boost in low-traffic hours. Write each interval and power level so energy can be calculated.
2. Calculate nightly energy
For each interval:
Energy (Wh) = input power (W) × operating time (h) × output fraction
Add controller, sensor and standby consumption. Use actual driver input power at the programmed levels, not nominal LED-board wattage.
Example: a 40 W luminaire operating 5 hours at 100% and 7 hours at 30% uses 284 Wh before system losses: (40 × 5) + (40 × 0.30 × 7).
3. Use location-specific solar data
Size against monthly or seasonal peak-sun-hours at the project coordinates, panel tilt and orientation. Account for temperature, dust, shading, wiring, controller and conversion losses. The annual average can hide a weak winter or rainy season.
Ask the supplier to identify the dataset and design month. If shading is possible, provide a site survey rather than adding an arbitrary percentage.
4. Calculate usable battery capacity
Battery nameplate energy is approximately nominal voltage multiplied by amp-hours, but not all of it should be used. Apply allowed depth of discharge, temperature derating, aging reserve and conversion losses.
For required autonomy:
Required usable battery energy = nightly energy × autonomy nights
Then divide by the permitted usable fraction to estimate nameplate capacity. The manufacturer should document protection setpoints and the control response as state of charge falls.
Lighting Global’s quality framework emphasizes battery protection and truth in advertised runtime for off-grid systems, and its standards reference IEC test methods (Lighting Global quality standards). While project street lights may fall under different requirements, the principles of verified runtime and battery protection remain useful procurement checks.
5. Size the panel for recovery
The panel must supply average daily demand and recover after low-sun nights. Check maximum charge current against battery limits and controller capacity. An oversized battery with an undersized panel can take too long to recover; an oversized panel without suitable charge control can stress the battery.
MPPT can improve energy capture under varying conditions, but require controller efficiency data and settings for the exact battery chemistry.
6. Verify thermal placement
LiFePO4 batteries are widely used, but charging and life remain temperature-dependent. Ask for cell, pack and battery-management-system limits. In very hot climates, a battery mounted directly behind the panel can experience a much higher temperature than ambient. In cold climates, charging restrictions may govern the design.
Compare suppliers on one energy table
Require each bidder to submit:
- luminaire input at every dimming level;
- nightly Wh including standby loads;
- solar dataset and design month;
- loss assumptions;
- panel rated power and tolerance;
- battery chemistry, nominal and usable Wh;
- depth-of-discharge and protection settings;
- stated autonomy and recovery time;
- expected capacity at end of design life;
- replaceability and warranty terms.
This prevents a large amp-hour label from disguising a different voltage, usable fraction or operating profile.
Acceptance testing
Inspect panel, battery and controller codes against the approved bill of materials. Verify dimming schedule, low-voltage protection, charge behavior and remote-control settings. For pilot sites, log battery voltage/state of charge and light output through representative weather before scaling.
The all-in-one solar street light can be configured around project coordinates and operating profiles. Send the site location, road geometry and required autonomy with the RFQ; those inputs are more valuable than asking for a generic wattage.