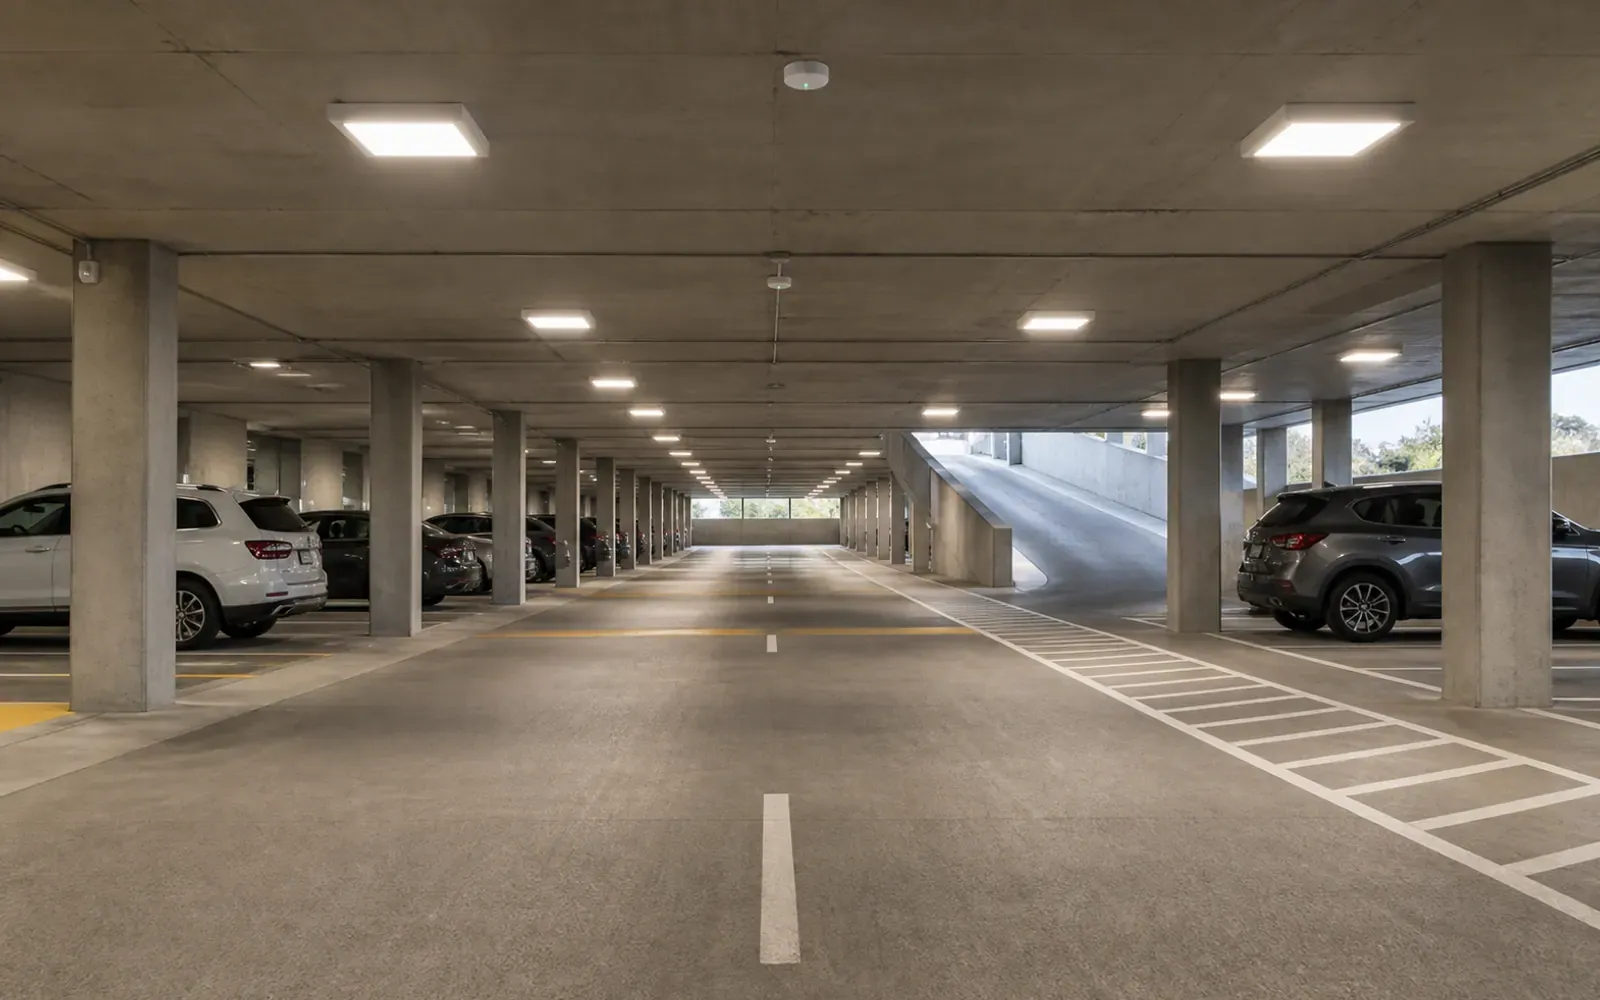
Parking structures have low ceilings, concrete obstructions, moving vehicles and intermittent occupancy. A good LED canopy layout provides comfortable drive-lane and pedestrian visibility while using high-low controls that respond before a person or vehicle enters a dark zone.
Design target: coordinate luminaire spacing and sensor coverage on the same reflected ceiling plan. Treating them as separate packages creates blind approaches and unnecessary full-output time.
Survey the actual structure
Record ceiling height, beams, ramps, columns, ventilation ducts, signs, painted surfaces, daylight openings and existing circuits. Mark drive lanes, bays, stairs, lift lobbies, payment areas and pedestrian crossings.
Concrete reflectance can vary widely with age and dirt. Use realistic values and a maintenance factor in the calculation. Check vertical visibility at people, signs and vehicle faces, not only horizontal floor lux.
Select a low-glare distribution
A broad square or rectangular distribution can reduce fixture count, but source brightness near the driver’s line of sight matters. Compare diffusers, lens shielding and mounting position. Avoid placing a high-output point source directly above ramp crests or decision points.
The LED canopy light uses a diffused wide distribution for low mounting heights. Final spacing should come from an IES/LDT calculation using the real beam and column layout.
Create functional control zones
Separate ramps, perimeter daylight areas, interior parking rows, pedestrian routes and 24-hour security areas. Define minimum background illumination where required. A high-low sequence often feels safer than switching a whole zone from dark to full output.
For each zone, specify:
- occupied and standby levels;
- hold and fade times;
- sensor technology and mounting height;
- detection direction and range;
- daylight setpoint;
- after-hours schedule;
- override and failure behavior.
The U.S. Department of Energy includes occupancy sensing, task tuning and dimming among control strategies compatible with commercial and industrial LED luminaires (DOE procurement guidance). Savings depend on the real sequence and occupancy pattern.
Detect before the conflict point
Place sensors so lighting rises before a vehicle turns into a lane or a pedestrian leaves a stair door. Concrete beams can block PIR views, while microwave sensing may see through or around materials in unwanted ways. Review manufacturer detection plots at the installed height and sensitivity.
Test cars, motorcycles, bicycles and walking approaches. A sensor that works under a desk-height demo may behave differently on a concrete ceiling.
Coordinate emergency and life-safety lighting
Identify circuits and luminaires required for egress under local code. Normal occupancy controls must not reduce emergency performance below requirements. Define transfer, test and indicator access for emergency equipment.
Emergency battery temperature and serviceability deserve separate review. In open-sided structures, the winter minimum may be outside a standard pack’s range.
Specify durability and maintenance
Vehicle exhaust, humidity, salt carried from roads and washdown can affect housings and connectors. Match IP/IK, coating, gasket and fastener requirements to the environment. Confirm how the lens opens, how drivers are replaced and whether sensor settings can be changed without a lift.
Use model-specific environmental evidence. UL’s lighting-performance capabilities include mechanical, environmental, moisture and IP/IK testing (UL lighting performance).
Group cleaning and functional checks by zone. Dirt on a diffuser lowers output, while a shifted or obstructed sensor changes coverage. A maintenance visit should therefore inspect both light delivery and control response rather than treating them as unrelated assets.
Commission at night and during daylight
At handover:
- verify fixture and sensor positions;
- measure representative horizontal and vertical points;
- drive and walk every approach route;
- confirm occupied, standby and daylight levels;
- test overrides, power restoration and emergency mode;
- record final settings by zone;
- train facilities staff and save configuration files.
What to send with the RFQ
Provide the reflected ceiling plan, section heights, target criteria, operating schedule, emergency strategy, ambient range and required control behavior. Use the industrial lighting RFQ checklist to keep bids comparable.
The result should be a coordinated layout, not a fixture count plus a separate sensor quotation. That coordination is what reduces blind spots, nuisance activation and post-installation rework.