Choosing a high bay by wattage alone is one of the fastest ways to end up with uneven floors, dark rack faces or unnecessary glare. A reliable warehouse LED high bay specification starts with the building geometry, the work being performed and the operating conditions—not the fixture label.
This guide gives importers, contractors and facility teams the information needed to request a defensible lighting calculation and compare supplier proposals on the same basis. It is a specification framework, not a substitute for a project-specific design or the locally applicable lighting standard.
1. Define the working areas
Separate open storage, rack aisles, picking stations, loading zones and circulation routes on the plan. Each area may need a different combination of horizontal illuminance, vertical illuminance and uniformity. A picking face, for example, depends more on vertical light than an open floor used only for pallet movement.
Record the task, working-plane height and target performance for each zone. Do not write one lux value for the entire warehouse unless the activities and geometry are genuinely identical. The project designer should confirm the targets against the standard or customer requirement that applies in the destination market.
2. Confirm mounting height and obstructions
Mounting height means the distance between the luminaire and the relevant working plane, not simply the roof height. Record the proposed suspension height and any allowable drop. Racking, cranes, ducts, cable trays and sprinklers can block light or restrict fixture positions.
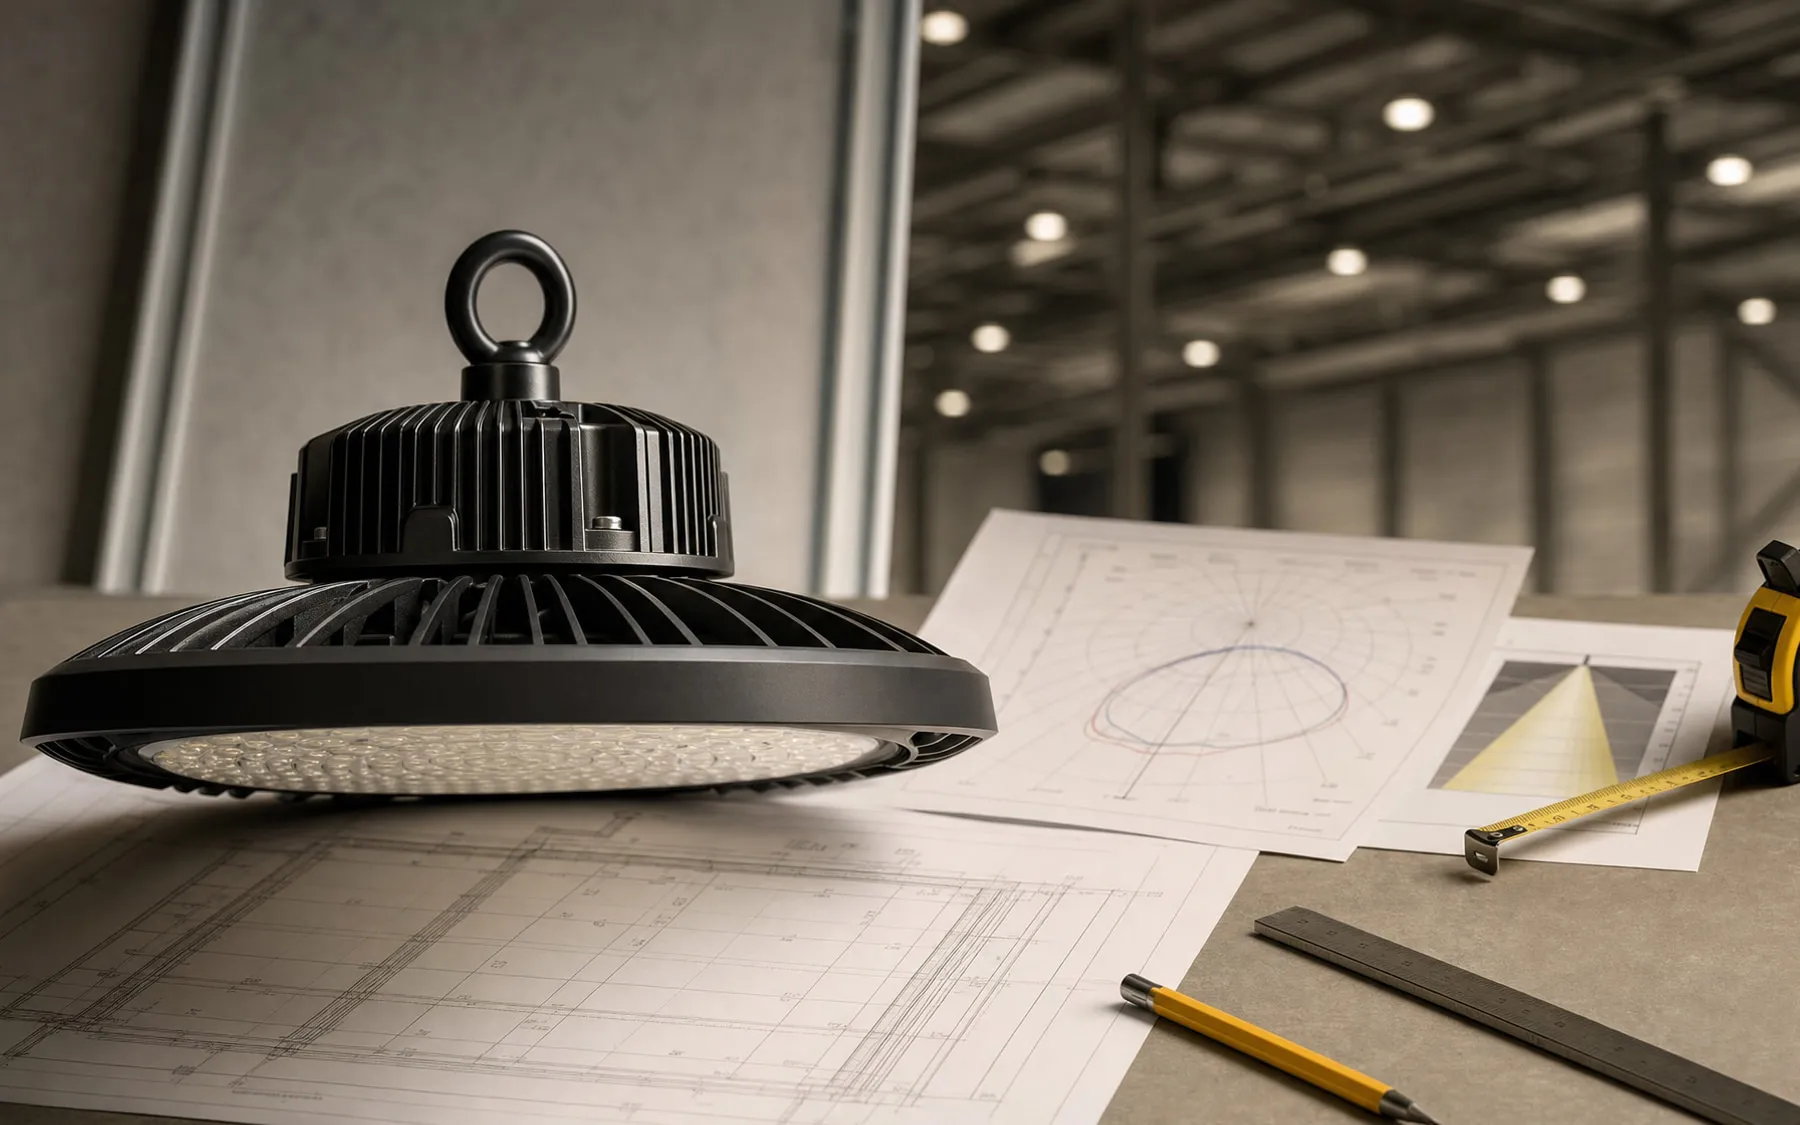
Provide a dimensioned CAD drawing where possible. At minimum, supply the room length and width, luminaire mounting height, rack height and aisle width. Surface reflectance also matters: a calculation based on clean white walls can overstate performance in a dark or dusty building.
3. Choose optics before wattage
Narrow aisle optics can improve vertical rack illumination and place fewer lumens on rack tops. Wide distributions generally suit open production and sorting areas at moderate mounting heights. The correct optic often reduces the need to increase wattage.
Ask the supplier to identify the exact optic code and provide the matching IES or LDT file. A label such as “90° beam” does not describe the complete intensity distribution. Compare layouts using the same maintenance factor, calculation grid, reflectance assumptions and obstruction model.
| Input | Why it changes the selection |
|---|---|
| Mounting height | Changes beam spread, intensity and potential glare |
| Aisle width and rack height | Determines the need for vertical or aisle-focused optics |
| Target lux and uniformity | Affects spacing, output and quantity |
| Ambient temperature | Can reduce driver life or require output derating |
| Dust, moisture or cleaning | Determines suitable ingress protection and construction |
4. Plan controls by occupancy pattern
Sensors create the most value in spaces with intermittent use. Group fixtures by functional zone rather than switching an entire warehouse from one detector. Rack aisles, staging zones and permanently occupied workstations usually need different time-delay and dimming behavior.
Define the control protocol—such as 0–10 V, DALI-2 or a wireless system—and state what happens after detection, during vacancy and after a power interruption. Maintain any background level required for safe movement. For more detail, see the guide to warehouse daylight and occupancy sensor zoning.
5. Request a lighting calculation
A DIALux or Relux model should show maintained illuminance, minimum and average values, uniformity, fixture positions and all assumptions. Request the calculation file as well as a PDF report so the photometric file, room geometry and grid can be checked.
The report should state whether racks and major obstructions were modeled. It should also separate results by task zone. A single false-color image is not enough evidence because it may hide the calculation plane, scale or maintenance assumptions.
6. Check the electrical and environmental specification
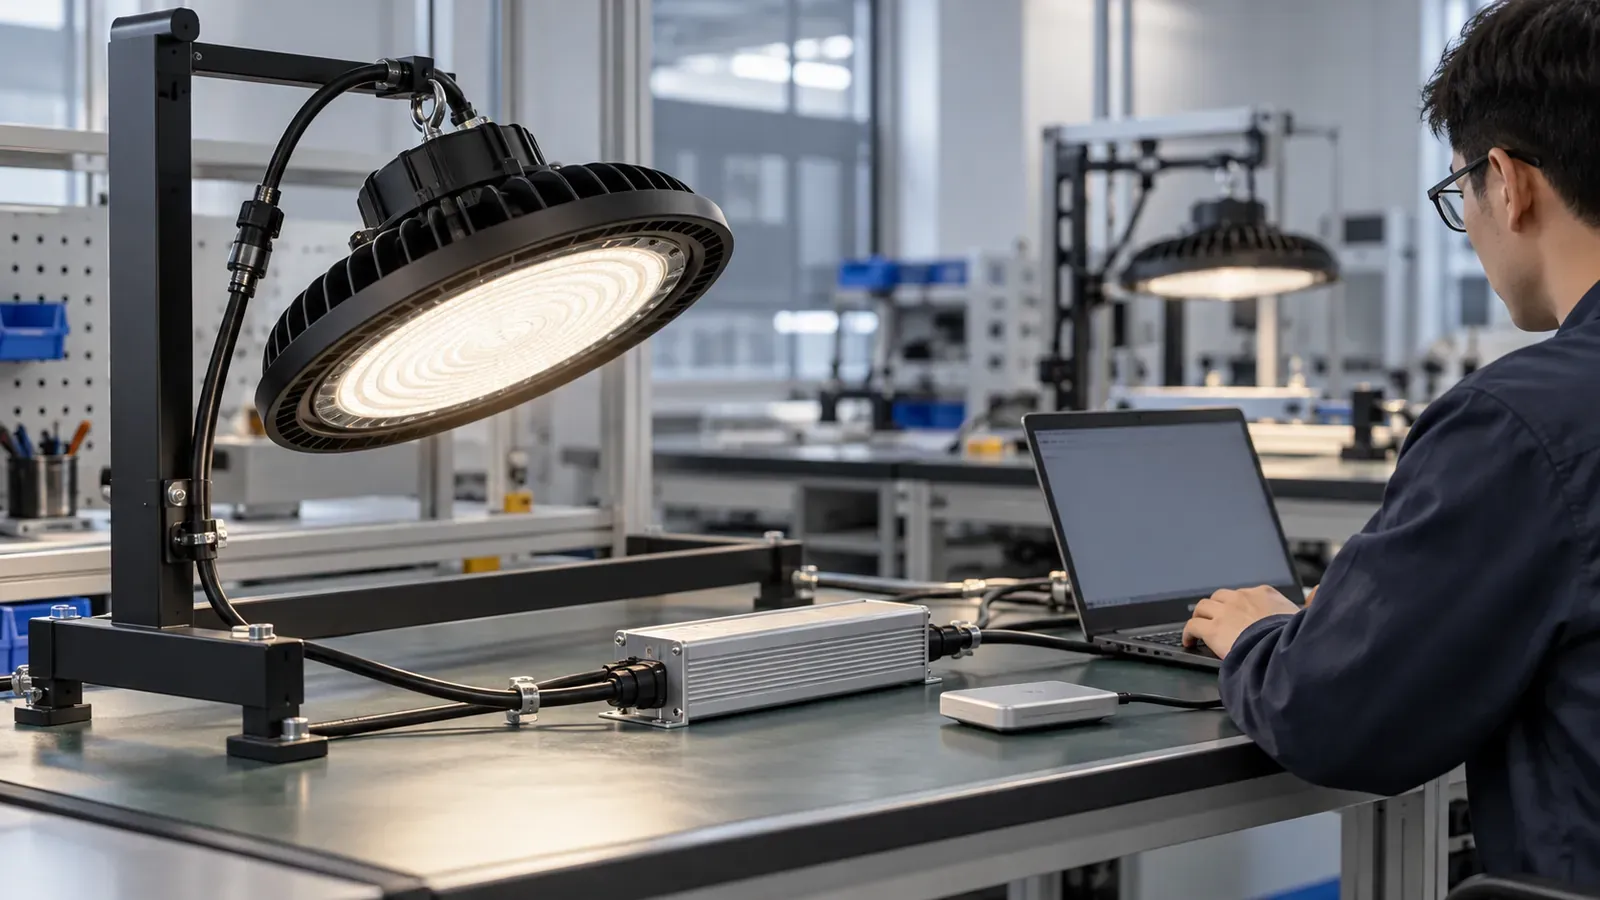
Confirm input voltage and frequency, driver brand or performance class, power factor, THD, inrush current and surge protection. On large projects, inrush current can determine how many luminaires fit on a circuit even when steady-state wattage appears acceptable. The high bay inrush current and breaker sizing guide explains the data an electrical designer needs.
Match the luminaire to the real environment. State the minimum and maximum ambient temperature, dust or moisture exposure, cleaning method and any corrosive agents. IP and IK ratings address specific hazards; they do not by themselves prove suitability for heat, chemicals or food-processing washdown.
7. Compare lifetime claims on the same basis
Do not compare only nominal wattage, efficacy or an unqualified “50,000-hour” claim. Ask for the LED package data, projected lumen-maintenance conditions, driver lifetime information and the rated ambient temperature. The claimed lifetime should identify the relevant operating temperature and failure criterion.
Also clarify the warranty period, allowed annual operating hours, exclusions, remedy and responsible contracting entity. A replaceable driver or sensor may reduce future downtime, but only if the spare part and interface remain available.
8. Build an approval sample around measurable checks
For a significant order, approve a sample with a checklist. Verify label data, input power, control behavior, mechanical dimensions, mounting accessories and the photometric file identity. If possible, install a small trial zone to check glare, sensor coverage and rack-face visibility before releasing the full quantity.
Record the approved model, optic, CCT, driver, firmware or control version and accessory codes. This creates a reference for pre-shipment inspection and prevents an apparently minor component substitution from changing the delivered performance.
Warehouse high bay RFQ checklist
- Dimensioned plan with racks, obstructions and mounting points
- Mounting height, aisle width and rack height
- Task-specific lux, uniformity and vertical-light requirements
- Operating hours, switching zones and dimming sequence
- Voltage, frequency, surge and control requirements
- Ambient temperature, ingress, impact and corrosion conditions
- Required IES/LDT files, calculation outputs and test reports
- Sample approval, warranty, delivery and spare-part requirements
Before requesting a calculation, prepare a dimensioned plan, mounting height, reflectance assumptions, task-specific targets and operating schedule. Suppliers can then optimize optics and quantity instead of guessing from wattage.
When these inputs are fixed, proposals become easier to compare and design changes become traceable. Send the same project brief to every bidder and require deviations to be listed explicitly rather than buried in a product datasheet.